Building Our First C# Application
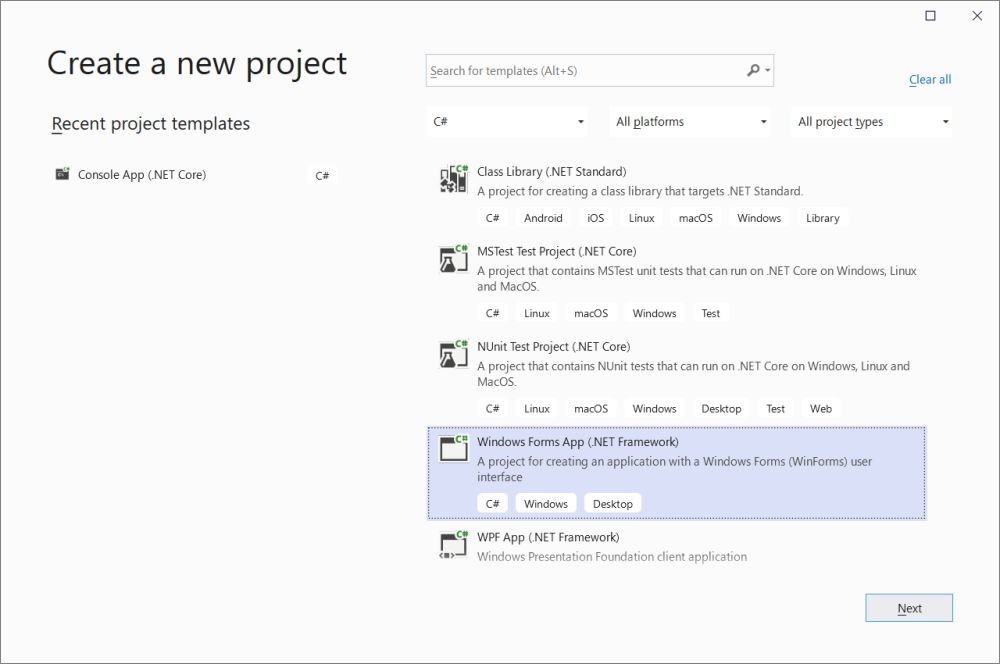
It's time to build a real-life C# application, so start Visual Studio, and then choose to create a new project. We will choose the "Windows Forms App (.NET Framework)" this time; take a look at the image below to see the proper option.
Hit the "Next" button and then give your project a relevant name. I chose "FirstProject", but you can pick any other name. Click the "Create" button and then wait until VS sets things up for you.
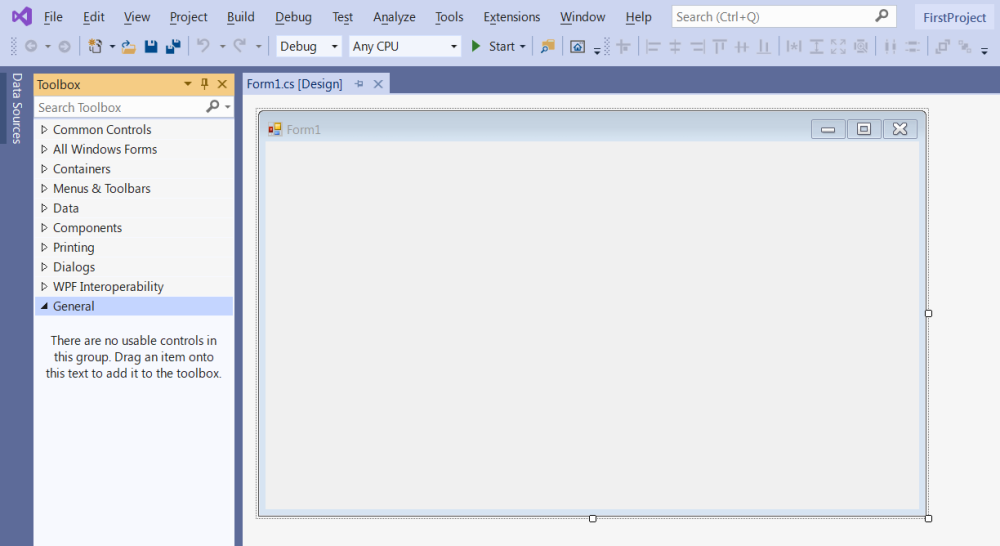
Here's how your screen should look like.
Our form is similar with an empty canvas; we will use it to build our program's user interface. As you can see, it already has buttons that allow us to minimize, maximize and close the application in its upper right corner.
You can build the project as it is, if you want to; you won't have that much fun, though, because our program doesn't do anything useful yet.
So, let's create an application that can be used to solve a real-life problem. We will build a program which allows us to compute sales taxes.
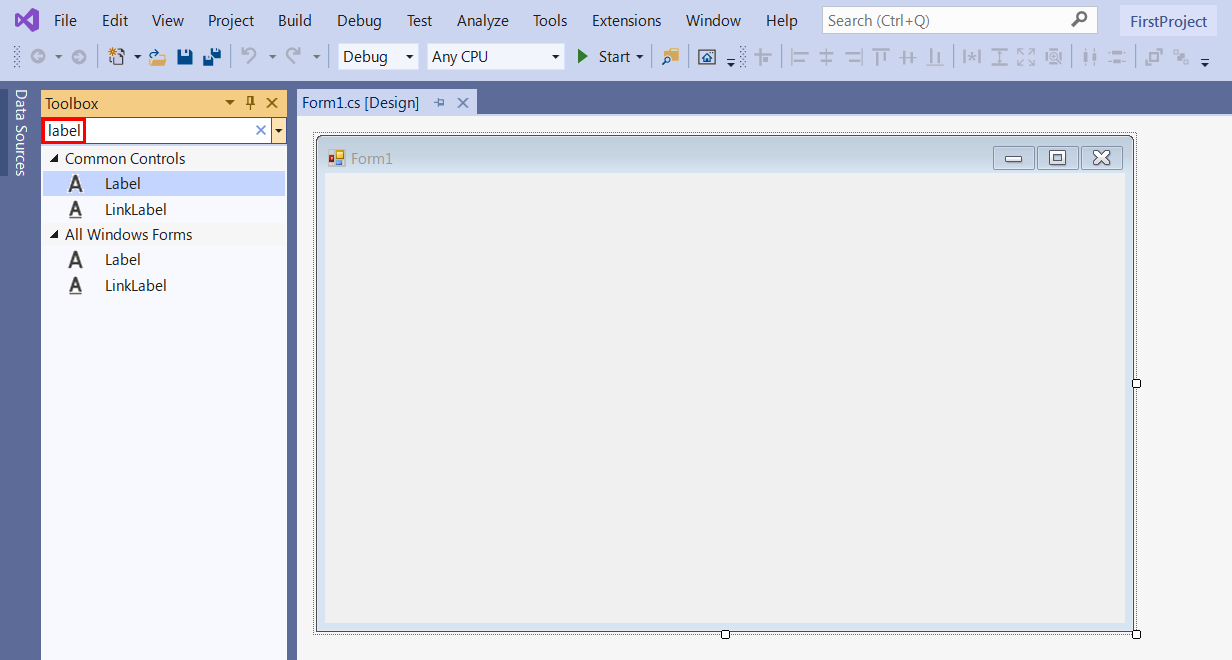
Right click the "Toolbox" menu entry on the left side of the screen, and then choose "Dock" to display it permanently on the screen. We will make heavy use of it, so it's best to keep it at hand.
Type in "label" at the top of the Toolbox.
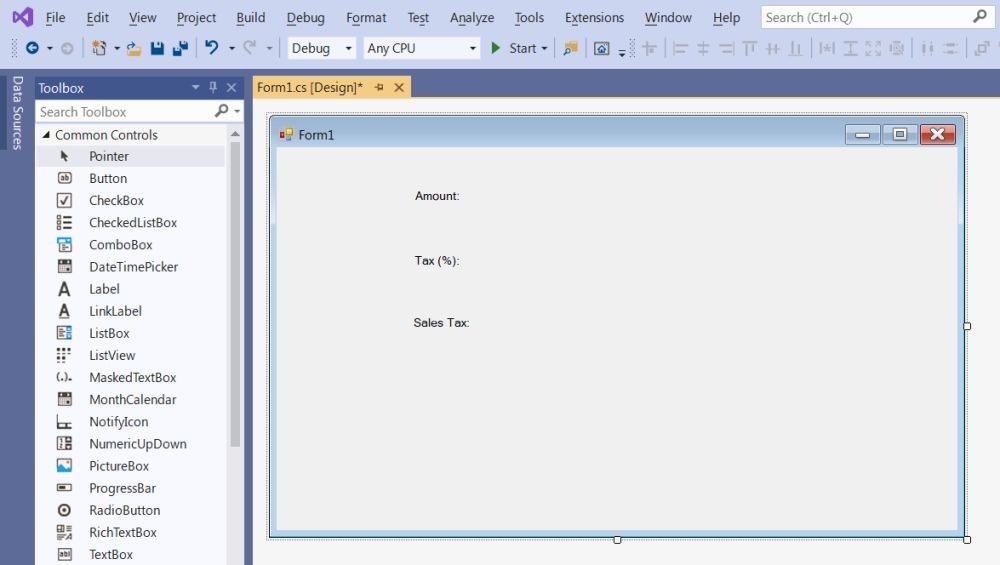
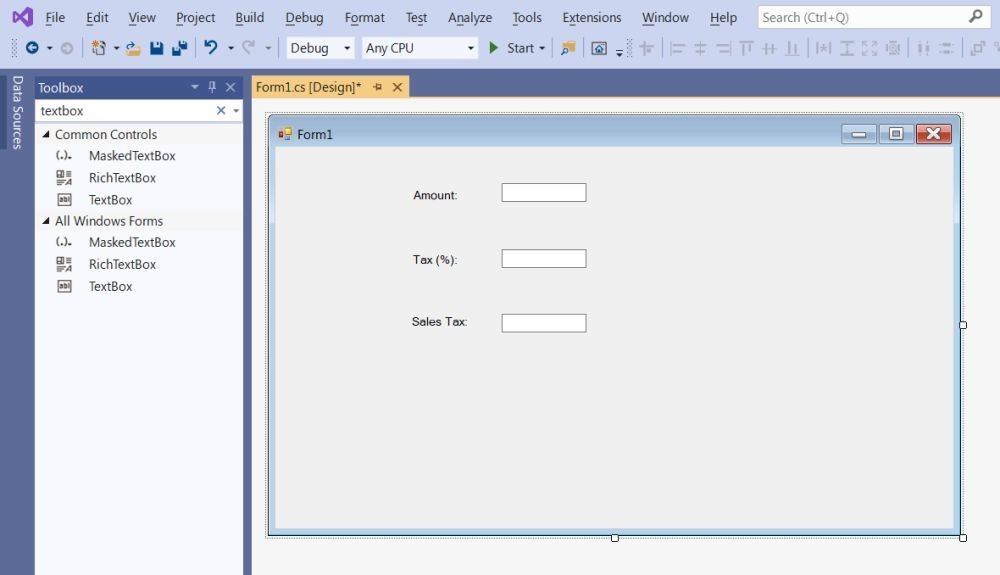
Click and drag the "Label" control to the form three times; here's what you should get.
You can align the labels horizontally by dragging them to the left and/or right side of the screen.
Click the first label to open its "Properties" window, which is located in the lower right corner of the screen by default. Then, scroll down until you have reached the "Text" field. Change "label1" to "Amount:".
Repeat the process for the other two labels, renaming them to "Tax (%):" and "Sales Tax:". If everything went well, the form should look like this now:
It's time to add some TextBox controls; search the Toolbox for "textbox", and then drag three instances of them to the form.
Click each TextBox control, and then set their "(Name)" properties to "AmountBox", "TaxBox" and "ResultBox", in this order.
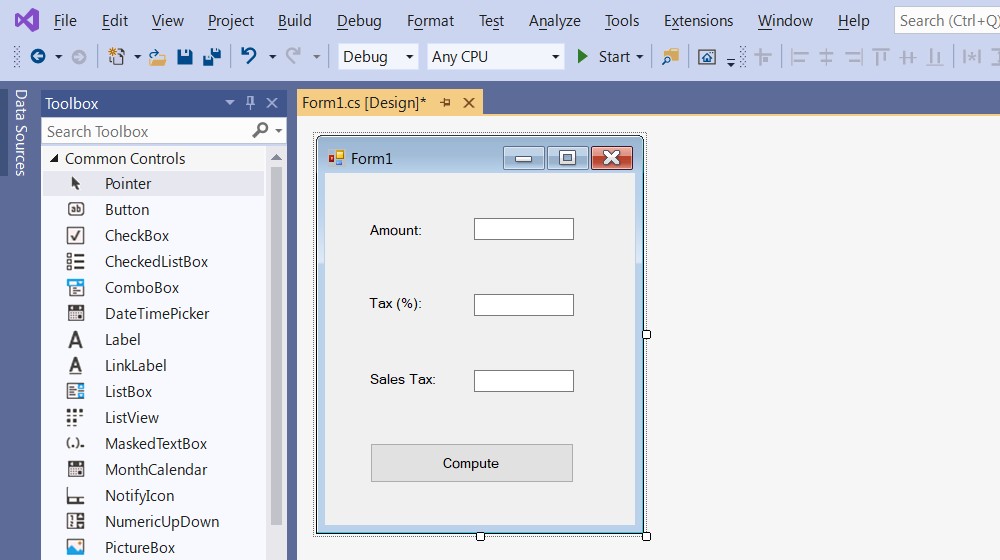
Let's add a button to the canvas! Search the "Toolbox" for "button", and then drag it to the canvas. Set its "Text" property to "Compute" and its "(Name)" property to "ComputeAmount".
Our program interface starts to look good, wouldn't you agree? It's a bit too big for what we need, though, so let's size it down. Click any interface element to move it around and resize it. Click and drag the lower right corner of the application to resize the entire canvas at once. Here's how the end result should look like.
You can align the UI elements the way you want them, of course.
I hope that you like what we've achieved so far. I'll see you in the next tutorial, when we will turn our user interface design into a fully functional application.