Changing the UI Elements with Code
As you now know, C# is a very powerful programming language. Most programs receive data from users, process it, and then display it. However, sometimes we must create applications which can modify user interface elements based on new data that's become available. I know that this may sound a bit confusing, but trust me: we've already done that a few times.
Let's create a new Windows Forms project. Add a button to it and change its Text property to "UI Elements". By default, its "(Name)" property is set to "button1"; let's leave that value as it is.
Double click the button to launch its event handler, and then add the code below inside the method.
private void button1_Click(object sender, EventArgs e)
{
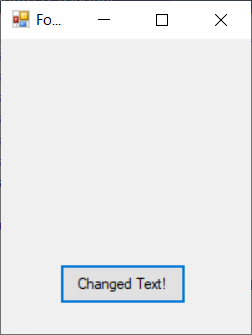
button1.Text = "Changed Text!";
}
Press the green "Play" icon to build and run the project, and then click the "UI Elements" button; you will see that the text on the button changes as soon as you click it!
As you may remember, we have discussed Boolean variables a while ago. We can use a bool variable to toggle the button's Text property, displaying a new text anytime we click the button.
bool textToggle = true;
private void button1_Click(object sender, EventArgs e)
{
if (textToggle == true)
{
textToggle = false;
button1.Text = "First Text";
}
else
{
textToggle = true;
button1.Text = "Second Text";
}
}
Run the application, click the button, and you will see that the button goes through the "First Text"/"Second Text" sequence whenever you click it.
We have used if/else branches in the example above; the "if" branch is executed when textToggle is set to "true", while the "else" branch runs when textToggle is false.
Since most controls have lots of dynamic properties, we can change their features through code. To do that, add a UI element to your form, click it, and then examine its properties in the element's "Properties" window, which sits in the upper right corner of the screen by default.
We can change many button properties, for example, such as BackColor, BorderColor, BorderSize, Font, ForeColor, X, Y, Width, Height, etc.
Let's create a program which asks for a password. If the user gets it right, the application will display a "Logged In!" message box; otherwise, if the user doesn't input the correct password, the program will hide the TextBox, making it impossible to try a new one.
Aren't you eager to see the project running? I know I am!
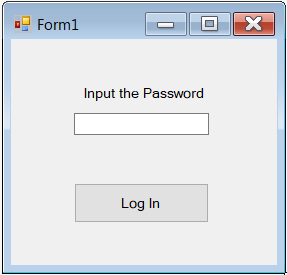
Let's begin by creating a nice user interface. Here's mine.
I have used a Label, a TextBox and a Button, without changing their "(Name)" properties. This means that they are named label1, textBox1 and button1.
Double click the button to open the source code for its event handler method, and then type in the lines of code below. Please note that the first line, which sets the password, is outside the method.
string myPassword = "Monkey";
private void button1_Click(object sender, EventArgs e)
{
if (textBox1.Text == "Monkey") // correct password
{
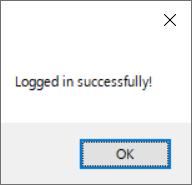
MessageBox.Show("Logged in successfully!");
}
else
{
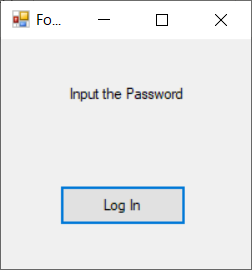
textBox1.Visible = false; // hide the input field
}
}
Our code compares the Text that was input in textBox1 with the predefined password; if they are identical, we display a MessageBox that looks like the one below.
However, if the password is not correct, the code will hide our textBox, preventing the user from "hacking" our application ;)
It's your turn! Add various controls to the form, click them, explore their properties, and then write code that changes them. Good luck!