Exploring the Code for Our Tax Calculator
Welcome back! This time we will dissect the code behind our Tax Calculator.
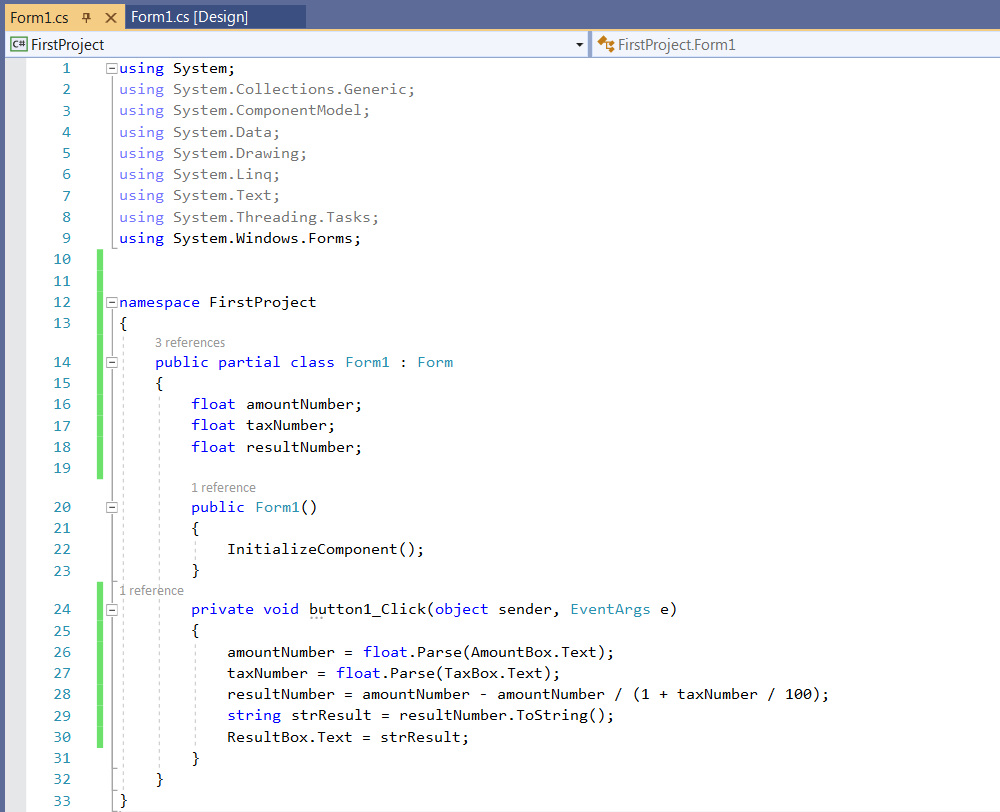
Everything starts with a huge "using" series of declarations.
using System;
using System.Collections.Generic;
using System.ComponentModel;
using System.Data;
using System.Drawing;
using System.Linq;
using System.Text;
using System.Threading.Tasks;
using System.Windows.Forms;
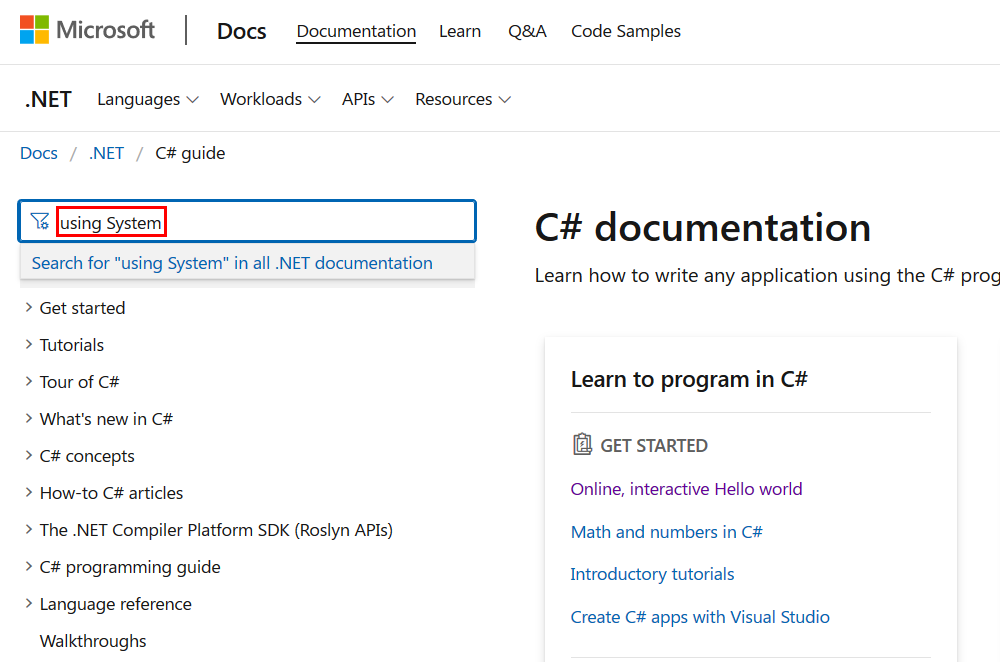
Frankly, we don't need all these namespace declarations, but Visual Studio has made sure that we won't need anything that we might use later. You can study VS' online documentation to see what these namespaces do; just click this link, and then use the search box to find whatever you need in the entire Visual Studio docs.
So, those declarations are generated automatically for us, and we don't need to bother with them. Let's explore OUR code.
namespace FirstProject
{
public partial class Form1 : Form
{
float amountNumber;
float taxNumber;
float resultNumber;
Our "FirstProject" namespace includes a public class named "Form1". Public classes are visible outside the assembly, so they can be used in other code sections.
The "partial" keyword can split a class into multiple C# files; frankly, we don't need that now, but it will be of help when we create complex projects, with source files that reside in multiple .cs resources, but will be joined whenever we build the application.
Then, we define three float variables. In C#, a float variable uses 32 bits and has a 7-digit precision.
public Form1()
{
InitializeComponent();
}
The method above may look a bit weird; it is created by VS anytime we design something using Windows Forms' WYSIWYG interface. Every control we've added to the form uses code that's been generated for us automatically, and that code is stored inside InitializeComponent().
private void button1_Click(object sender, EventArgs e)
{
amountNumber = float.Parse(AmountBox.Text);
taxNumber = float.Parse(TaxBox.Text);
resultNumber = amountNumber - amountNumber / (1 + taxNumber / 100);
string strResult = resultNumber.ToString();
ResultBox.Text = strResult;
}
The last method runs anytime we click the "Compute" button. It's a private method, so it can't be accessed outside our class. And it's a void method, because it doesn't return any value.
What about "object sender" and "EventArgs e"? The first parameter contains a reference to the control that has triggered the event. It's useful if you have several buttons on the form, and you want to determine which one was clicked because you want to change its color, for example. The second parameter (EventArgs e) is the base class for classes that contain event data.
Then, we've got the code we've typed in using our own hands. We read, and then parse the texts that are stored into AmountBox and TaxBox, converting them from texts to floats (numbers). Then, we calculate the resulting tax using the formula that was discussed in the previous tutorial.
Now we've got our tax as a number, but we need to convert it to a string before passing it to the ResultBox.Text. We do that using the ToString method.
That is all for now, but it's time for your homework. Run the application and you will see that the number displayed by ResultBox.Text can be edited. We don't want that to happen, right? Turn that TextBox into its read-only version; explore the TextBox properties, find the proper one, and then set it using a single line of code that's placed inside the button1_Click method. Good luck!